Introduction
You can interface an HP LaserJet Printer to Wi-Fi so you will actually want to print remotely from your home organization taking out links and furthermore empower printing from various gadgets without any problem. Here is an itemized interaction that you can follow to interface your HP LaserJet printer over the remote organization.
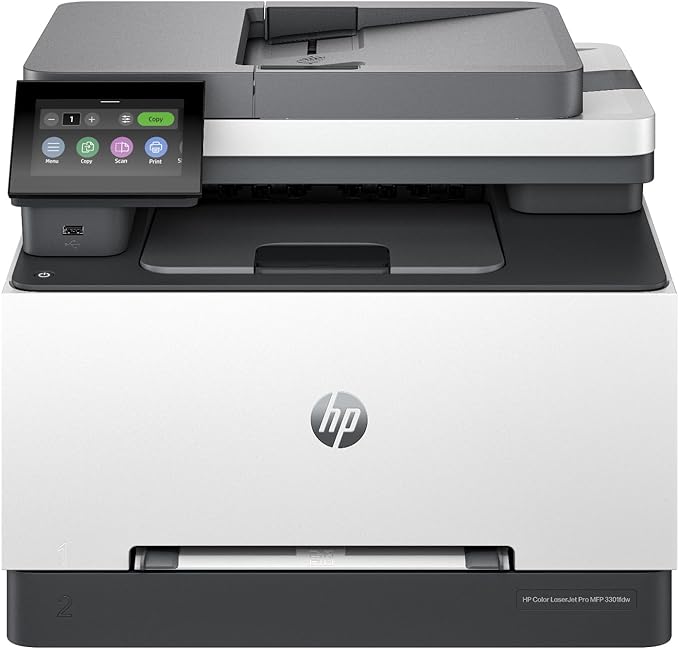
Step 1: Prepare the Printer.
- Setup: Unbox your printer and connect it to the power supply..
- Test Your Network: Be sure the Wi-Fi works you have a clear signal to your router and that nothing is stopping themagenta print head Canon MP970 wireless printer from connecting.
Step 2: Control Panel- The printer
- Go to Settings:- On your printer control panel navigate through “Wireless” or similar network settings. These are accessible through the touchscreen, or buttons for some models.
- Choose Wireless Setup Wizard: This feature will set up your printer step by step and allow you to connect via wireless networking.
Step 3: Choose Your Wi-Fi Network
- Searching for Available Networks Automatically: The printer scans the Wi-Fi networks automatically an connects to them. On the list of Wi-Fi Networks, find and tap to choose your own network.
- Enter the Wi-Fi Password: If prompted, enter your Wi-Fi password. Make sure to type it accurately to avoid connection issues.
Step 4: Confirm the connection.
- Effective Association: After entering the secret key, the printer will endeavor to interface with the organization. You ought to see an affirmation message on the screen once it’s effectively associated.
- Print Organization Setup Report: A few printers permit you to print a report showing network subtleties, affirming an effective association.
Step 5: Install printer software
- Download and Introduce Drivers: Visit HP’s true site to download the most recent programming and drivers for your LaserJet printer. This guarantees similarity and admittance to all highlights.
- Adhere to Establishment Guidelines: During establishment, you will be approached to choose your association type. Pick “Remote” and follow the prompts to finish the arrangement.
Step 6: Add the printer to Your Device
- Add Printer to PC: On your PC, go to “Printers and Scanners” in the framework settings and add your HP LaserJet printer.
- Cell phones: On the off chance that you’re utilizing a cell phone, download the HP Savvy application for simple remote printing.
Troubleshooting Tips
- Really look at Signal Strength: On the off chance that your printer battles to interface, have a go at drawing it nearer to the switch or guaranteeing there are no significant hindrances between them.
- Restart Gadgets: Some of the time restarting your printer, switch, and PC can determine association issues.
- Update Printer Firmware: Ensure your printer’s firmware is cutting-edge for better execution and availability.
Conclusion
Associating your HP LaserJet printer with Wi-Fi permits you to partake in the accommodation of remote printing from numerous gadgets. With the right arrangement and instruments, you can undoubtedly deal with your printing undertakings without the requirement for direct link associations. Assuming you experience any issues, allude to the printer’s manual or visit HP’s help site for additional help.


Pingback: HP Smart Tank 5101: The Ink-Saving Beast You Need in 2024 -